Step by Step Install Open Source Pymol 2.x in Windows by Conda
This post was first released at 2019-05-26, and updated at 2021-04-20.
Since PyMOL 2.x released, there were no binary installer avaliable for Windows.
PyMOL Wiki provides the way to install open source PyMOL in Windows under Python 3.x.
![]()
This post provided the method to install PyMOL 2.x by conda (Anaconda or Minoconda) in Windows.
1. Install Conda
Download Anaconda or Miniconda and install it.
Since I am using Windows 10 64 bit version, miniconda3-py3.8 was installed.
E.g., Miniconda3 was installed at
D:\miniconda3.
2. Create PyMOL envrionment
Click Start menu, and run “Anaconda Prompt (miniconda3)”.
Input next command to create a virtual environment pymol:
conda create -n pymol
Then, activate created environment
conda activate pymol
3. Install supporting packages
conda install -c conda-forge pip numpy pmw
All other supporting packages would be installed automatically.
4. Download PyMOL whl files
Download pre-compiled Open-Source PyMOL from Christoph Gohlke of the Laboratory for Fluorescence Dynamics, University of California, Irvine:
Here listed lots of pre-compiled distributions. The filename format is:
  pymol-2.4.0-cp38-cp38-win_amd64.whl
           \        \          \
            \        \          \__ for 64 bit Windows
             \        \
              \        \___________ for Python 3.8.x
               \
                \__________________ PyMOL version 2.4.0
Download both “pymol.whl” and “pymol_launcher.whl” files.
Here pymol-2.4.0-cp38-cp38-win_amd64.whl and pymol_launcher-2.1-cp38-cp38-win_amd64.whl were downloaded.
5. Install whl files
- In the conda
pymolenvironment, switch to download directory (e.g.,D:\Downloads)
# Switch to Drive D:
d:
# Enter the directory
cd Downloads
- Install pymol_launcher first
pip install --no-index --find-links="%CD%" pymol_launcher-2.1-cp38-cp38-win_amd64.whl
Output would be like:
Looking in links: D:\Downloads
Processing D:\downloads\pymol_launcher-2.1-cp38-cp38-win_amd64.whl
Processing D:\downloads\pymol-2.4.0-cp38-cp38-win_amd64.whl
Requirement already satisfied: numpy in D:\miniconda3\envs\pymol\lib\site-packages (from pymol->pymol-launcher==2.1) (1.20.2)
Requirement already satisfied: Pmw in D:\miniconda3\envs\pymol\lib\site-packages (from pymol->pymol-launcher==2.1) (2.0.1)
Installing collected packages: pymol, pymol-launcher
Successfully installed pymol-2.4.0 pymol-launcher-2.1
You might have noticed PyMOL has been installed automatically.
To update PyMOL later, run
pip install --upgrade --no-deps pymol-2.4.0-cp38-cp38-win_amd64.whl
The pymol_launcher do not need update.
6. Launch pymol
In an activated pymol environment, run
pymol
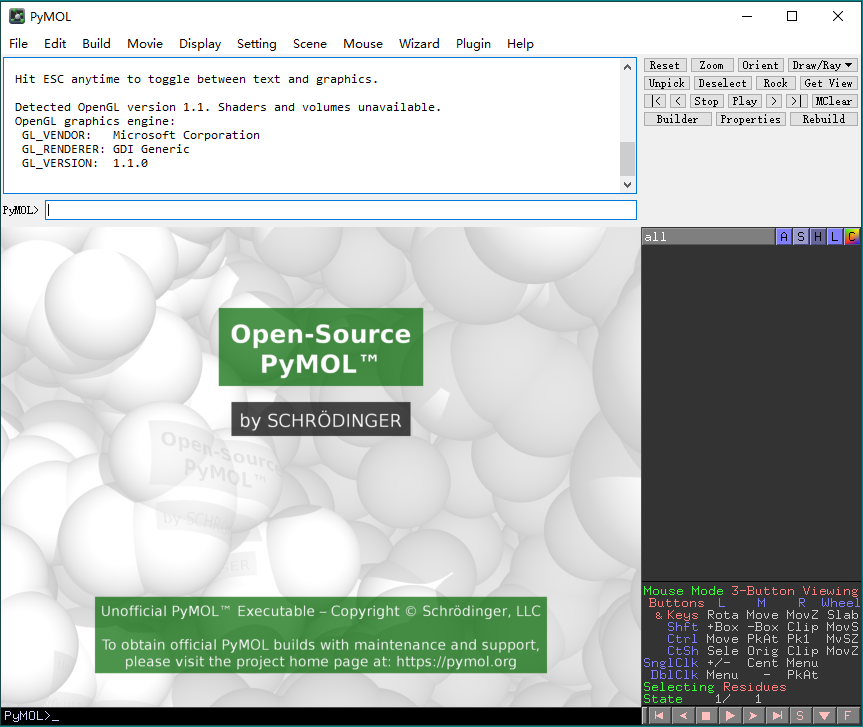
Then, the PyMOL will be launched. Have fun!
7. New single windows interface
Note: If you’d like to install PyMOL extend scripts, you do not need to install PyQt5 separately.
Follow instructions in Section 8.
If you’d like to use the newer single-window Qt interface, simply install the PyQt5, also under the pymol environment:
pip install pyqt5
The new interface would be like:
8. Install PyMOL extend scripts
(1) Install necessary packages:
conda install -c conda-forge scipy matplotlib wxpython
(2) Download script/plugin collection:
git clone https://github.com/Pymol-Scripts/Pymol-script-repo
(3) Next copy the directory “Pymol-script-repo/” to PYMOL_PATH:
D:\miniconda3\envs\pymol\Lib\site-packages\pymol\pymol_path\
PYMOL_PATHcan be determined by running the following command from within PyMOL:print os.environ['PYMOL_PATH']
(4) Then create a file “run_on_startup.py” under the directory D:\miniconda3\envs\pymol\Lib\site-packages\pymol\pymol_path, it content is:
# Add paths to sys.path so PyMOL can find modules and scripts
import sys, os
pymol_git = os.path.abspath(os.path.join(os.environ['PYMOL_PATH'], 'Pymol-script-repo'))
os.environ['PYMOL_GIT_MOD'] = os.path.join(pymol_git,'modules')
sys.path.append(pymol_git)
sys.path.append(os.environ['PYMOL_GIT_MOD'])

# Make setting changes to Plugin Manager
import pymol.plugins
pymol.plugins.preferences = {'instantsave': False, 'verbose': False}
pymol.plugins.autoload = {'apbs_tools': False}
pymol.plugins.set_startup_path([os.path.join(pymol_git, 'plugins'), os.path.join(sys.prefix, 'Lib', 'site-packages', 'pmg_tk', 'startup')])
pymol.plugins.preferences = {'instantsave': True, 'verbose': False}
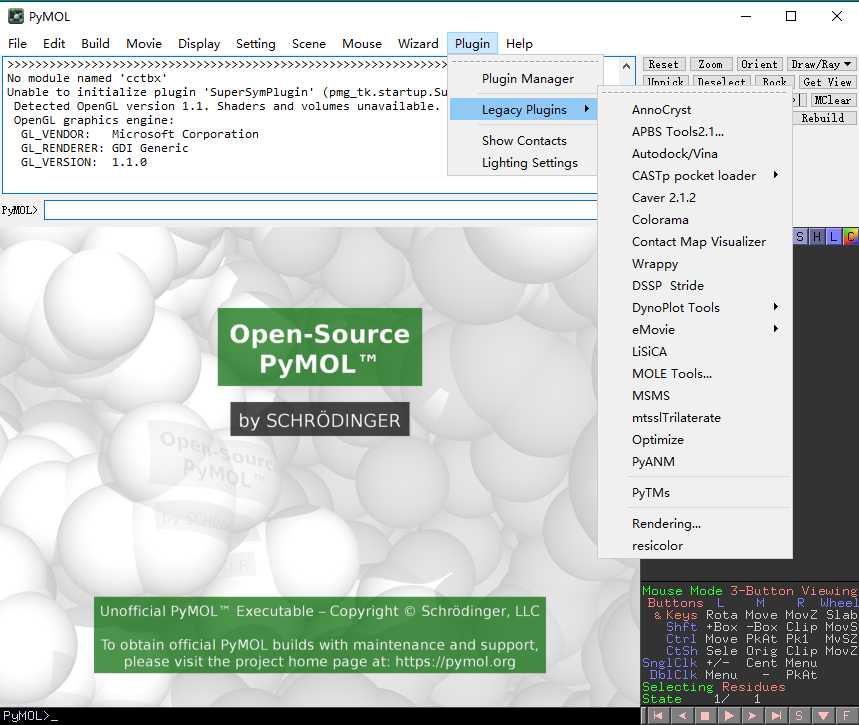
(5) Lanuch PyMOL, you’ll find extend scripts under the Menu Plugins->Legacy Plugins:
Note: There are still some un-solved errors:
module 'base64' has no attribute 'encodestring'
Unable to initialize plugin 'bnitools' (pmg_tk.startup.bnitools).
No module named 'tkintertable'
Unable to initialize plugin 'mtsslDockGui' (pmg_tk.startup.mtsslDockGui).
use() got an unexpected keyword argument 'warn'
Unable to initialize plugin 'mtsslPlotter' (pmg_tk.startup.mtsslPlotter).
D:\miniconda3\envs\pymol\lib\site-packages\wx\lib\pubsub\__init__.py:23: wxPyDeprecationWarning: wx.lib.pubsub has been deprecated, plese migrate your code to use pypubsub, available on PyPI.
  warnings.warn('wx.lib.pubsub has been deprecated, plese migrate your '
<<<<<<<<<<<<<<<<<<<<<<<<<<<<<<<<<<<<<<<<<<<<<<<<<<<<<<<<<<<<<<<<<<<<<<<<<<<<<<<<

Optimize plug-in needs openbabel to be installed in your system, please follow the instructions at
http://openbabel.org/wiki/Get_Open_Babel

>>>>>>>>>>>>>>>>>>>>>>>>>>>>>>>>>>>>>>>>>>>>>>>>>>>>>>>>>>>>>>>>>>>>>>>>>>>>>>>>
No module named 'cctbx'
Unable to initialize plugin 'SuperSymPlugin' (pmg_tk.startup.SuperSymPlugin).
 Detected OpenGL version 1.1. Shaders and volumes unavailable.
 OpenGL graphics engine:
  GL_VENDOR:   Microsoft Corporation
  GL_RENDERER: GDI Generic
  GL_VERSION:  1.1.0